
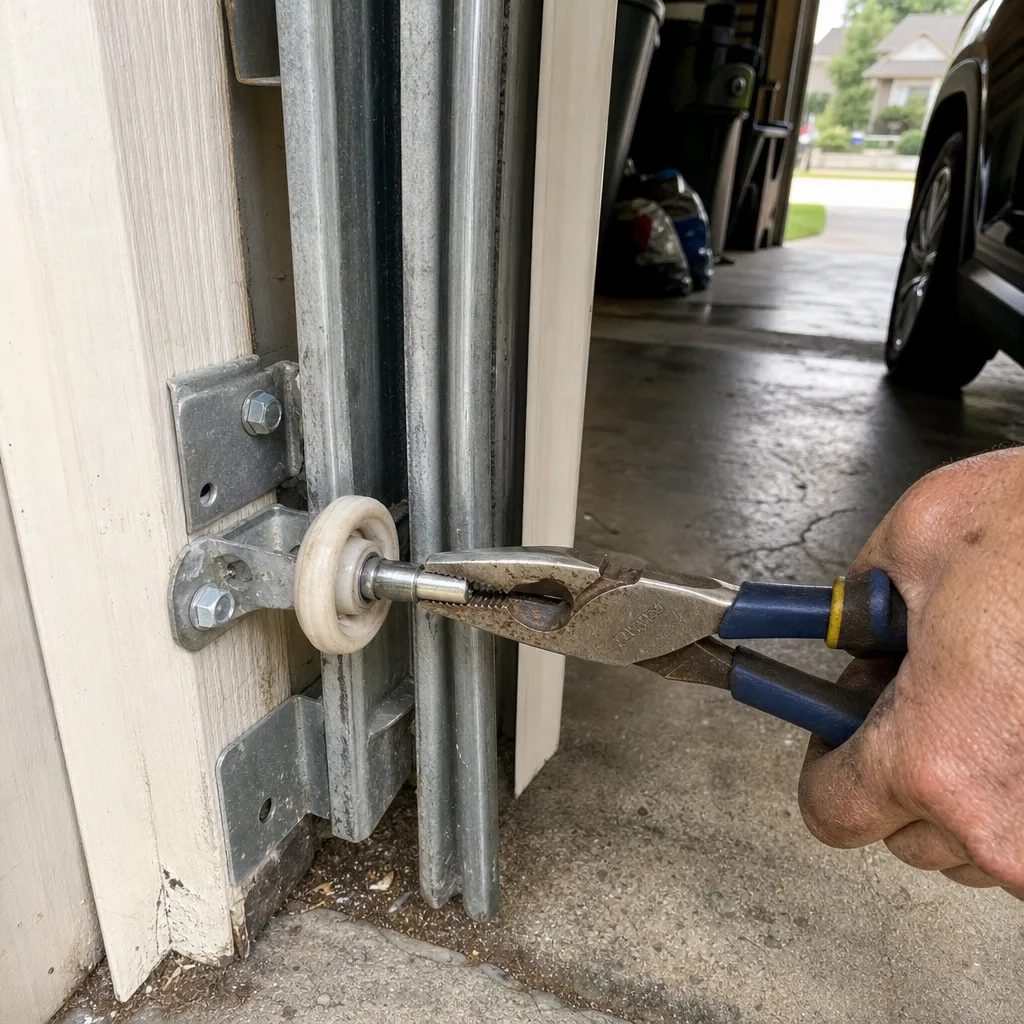
Last updated November 15, 2026
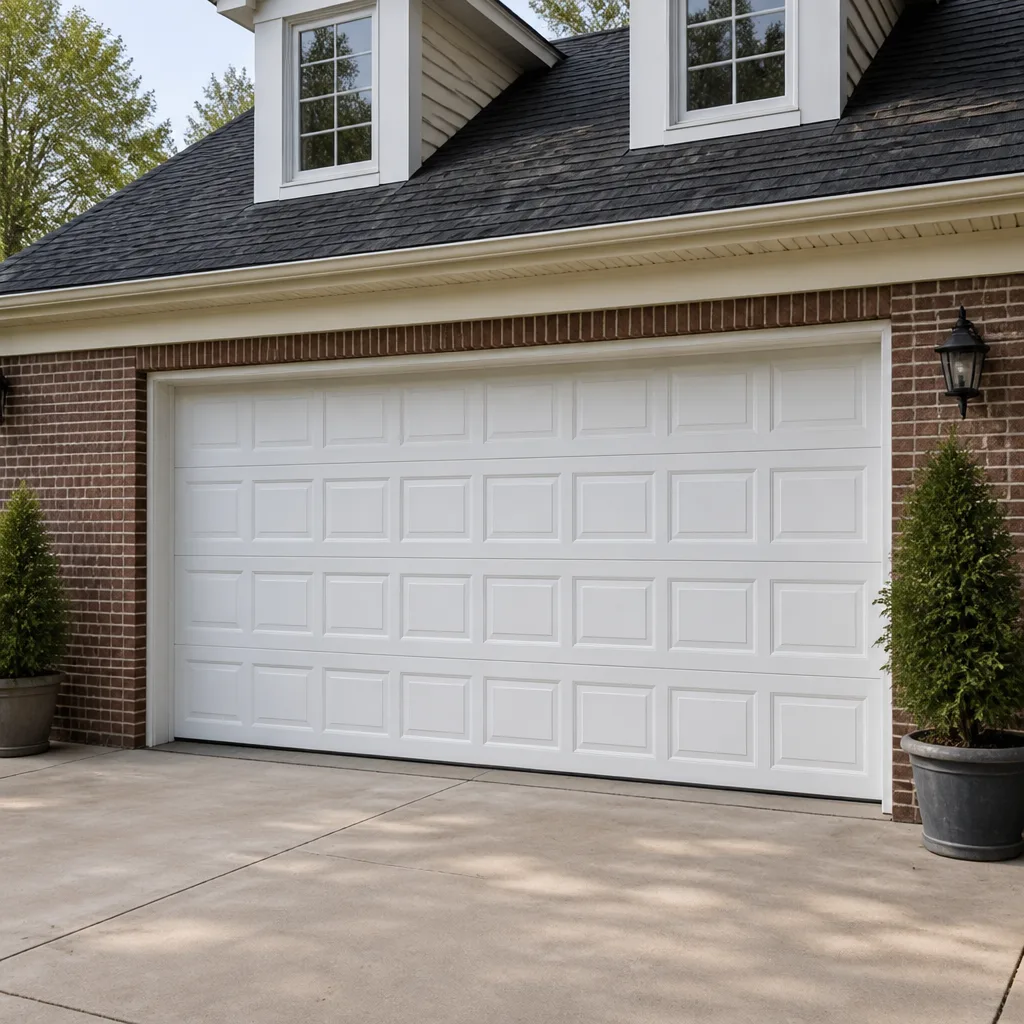 Raised-panel steel
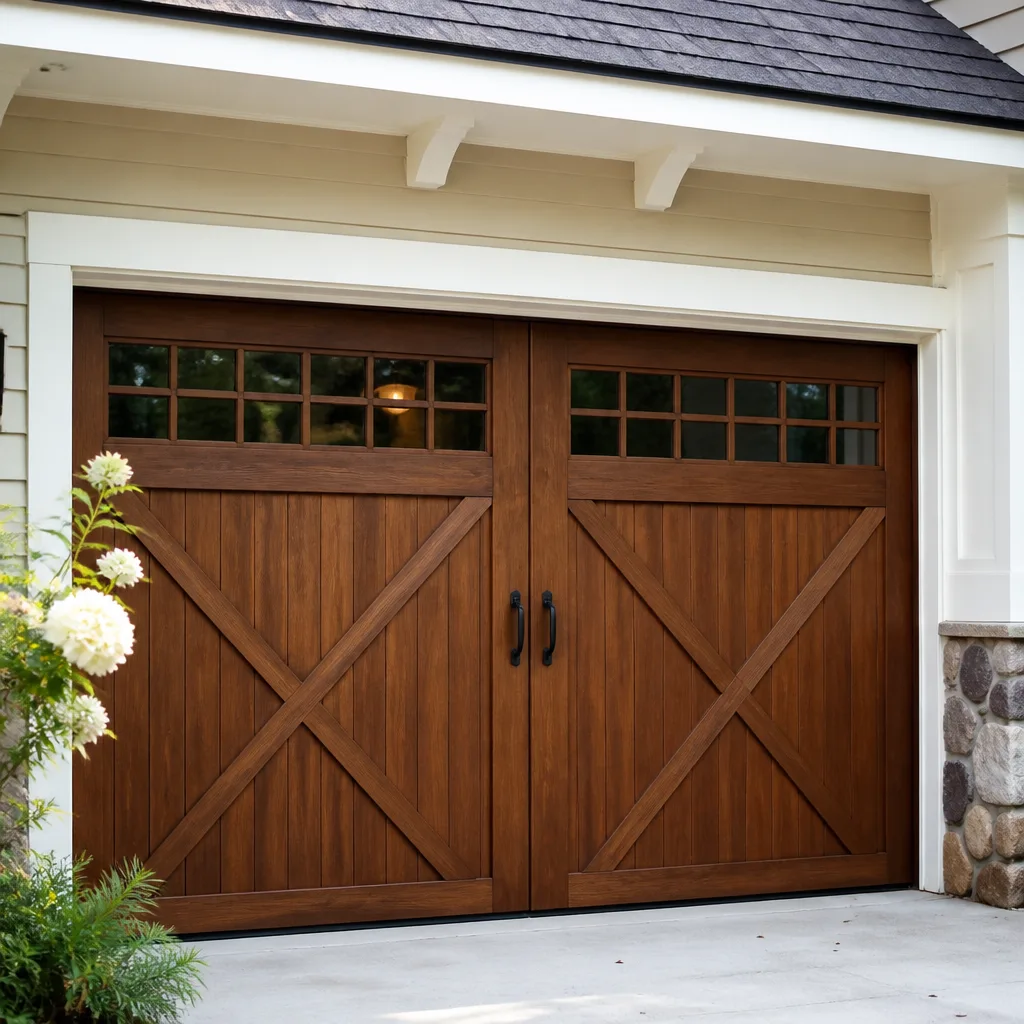 Carriage house
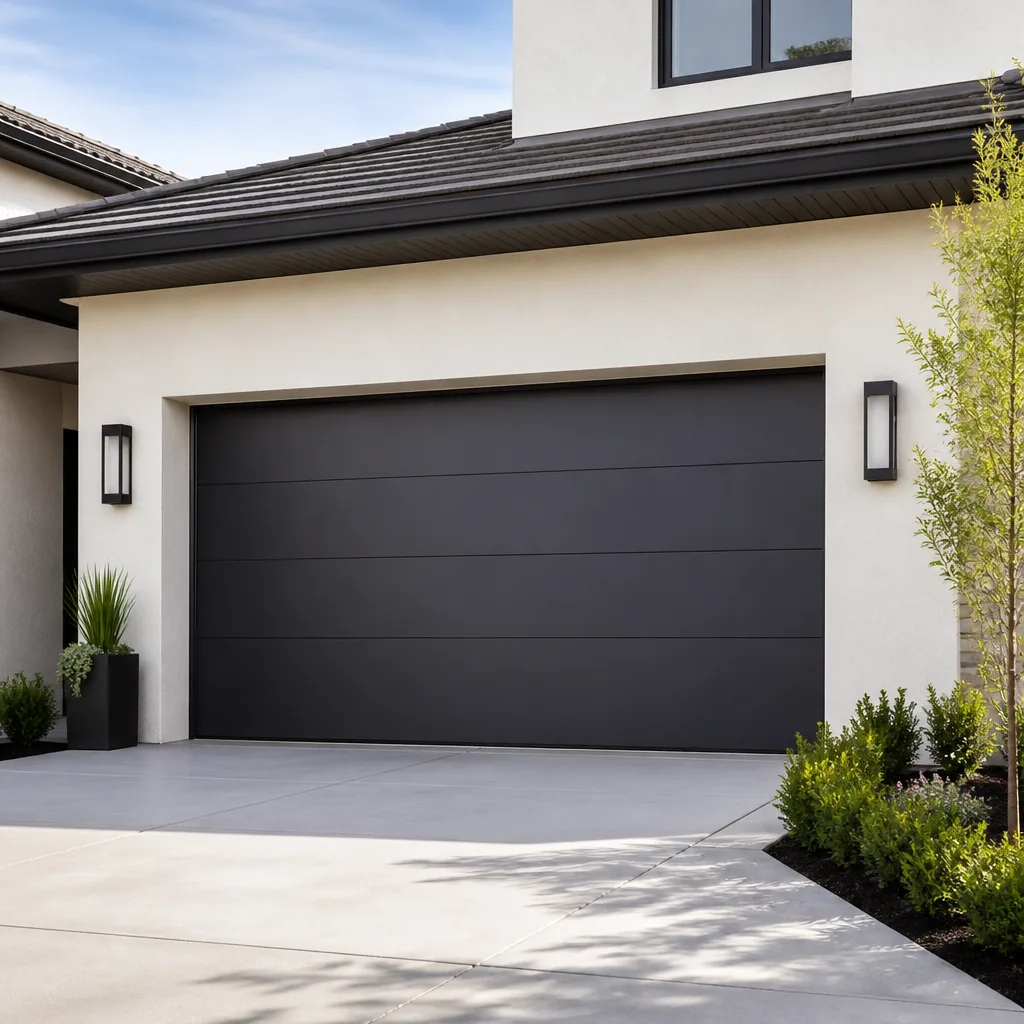 Modern flush
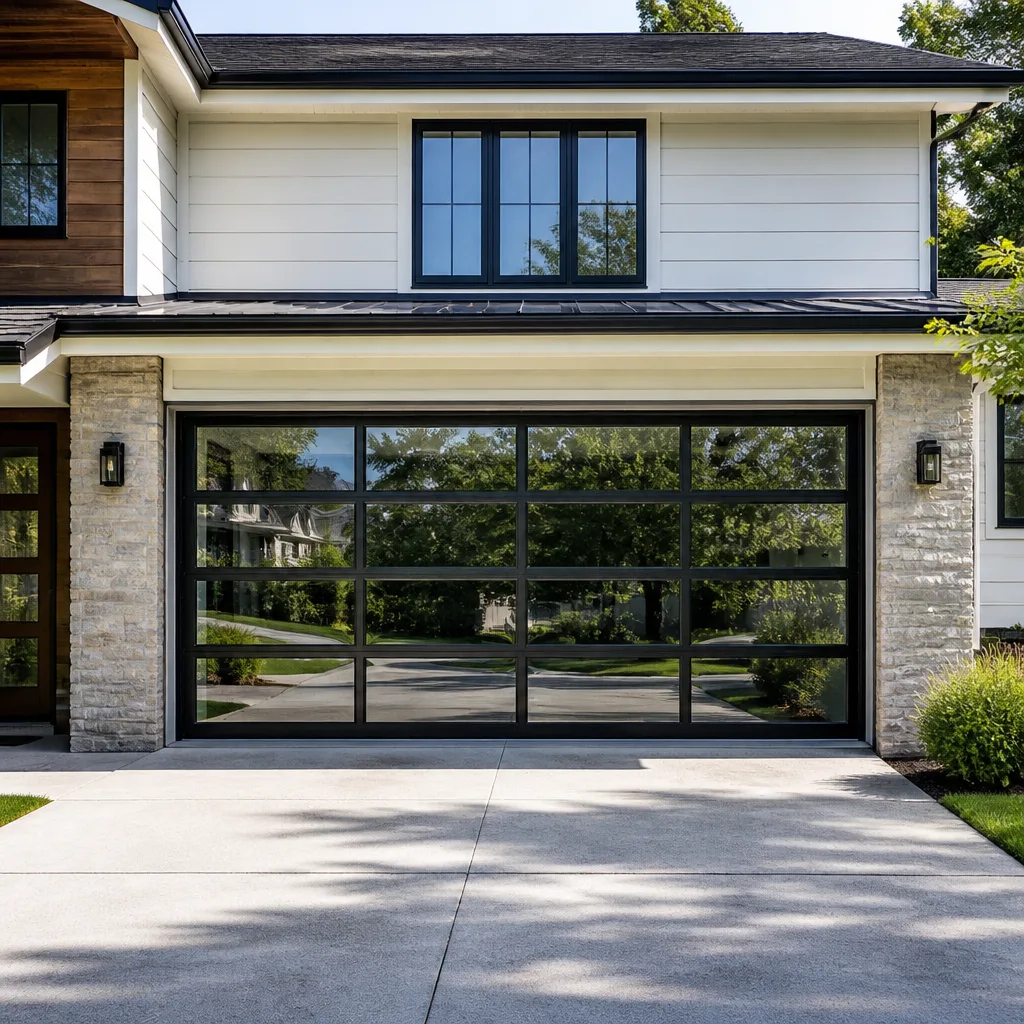 Full-view glass
 LiftMaster openers
 Chamberlain openers
Full 25-point door and opener safety check with every visit - springs, cables, rollers, tracks, and your LiftMaster or Chamberlain opener included
You get a price before we start. It does not change when the pro arrives.
Get your free estimateGarage Door Repair Troubleshooting in Carmel: Common Problems and How to Fix Them
A door that “just stopped working” almost never did. In the weeks before it quit, it was telling you something: a grind that wasn’t there last month, a hesitation at the top of travel, a gap at one corner of the bottom seal. Those are the clues, and if you can read them backward, you’ll usually land on the exact component that failed. Here in Carmel, our freeze-thaw swings leave their own fingerprints on doors, and they don’t look like the problems in national troubleshooting guides. This guide teaches you to group symptoms, isolate the system, and decide what you can safely handle versus what needs a trained technician.
Quick Answer
Most garage door problems in Carmel fall into one of four mechanical categories: springs, cables, the opener, or the tracks and hardware. Identifying which category your symptom belongs to, based on sound, movement, and visual cues, narrows the diagnosis before anyone touches a part. Homeowners can safely test the manual release, inspect cables visually, and adjust opener travel limits. Torsion springs, cables under tension, and anything involving the door’s balance require a professional.
Styles & brands we work with
- Raised-panel steel
- Carriage house
- Modern flush
- Full-view glass
- LiftMaster openers
- Chamberlain openers
Table of Contents
- The Symptom-Cluster Method: Diagnose by Category, Not by Guesswork
- How Carmel’s Freeze-Thaw Cycles Stress Your Door
- Opener Problem or Door Problem? The Two-Minute Test
- What the Sound Tells You: Grinding, Clicking, and Silence
- What You Can Safely Check and What Needs a Pro
- Springs and Cables: Why These Are Never a DIY Fix
- Opener Troubleshooting: What Different Brands Tell You
- The Decision Tree: Run Your Symptom to a Next Step
The Symptom-Cluster Method: Diagnose by Category, Not by Guesswork
Part-swapping is expensive and rarely works. What works is grouping your symptoms by category, because each of the four core systems fails in recognizable patterns. When you know the category, you’ve eliminated the majority of the guesswork before you ever pick up a wrench.
Here’s how we sort symptoms in the field, and how you can do the same before you call:
- Sound cluster (grinding, clicking, silence): Grinding usually points to rollers, hinges, or a dry torsion tube. Clicking from the opener housing suggests a relay or logic board. Total silence when you press the remote points to power, safety sensors, or the opener itself.
- Movement cluster (reverses, jerks, won’t move): Reverses immediately after closing? Look at the safety sensors and the close-force limit. Jerks on the way up? Usually a worn roller, a bent track, or a failing spring. Won’t move at all? Check the manual release and the opener’s power source before assuming the worst.
- Visual cluster (gap, sag, misalignment): A gap at the bottom of the door means the seal or the travel limit. A sag across the top panel means a broken spring or a weakened panel. Side-to-side misalignment points to tracks or cables.
In our experience, the symptom cluster tells you which of the four categories you’re in, and that alone narrows the problem to a handful of components. If you want a deeper dive into repair-specific diagnosis, our garage door repair page covers the mechanical side in detail.
How Carmel’s Freeze-Thaw Cycles Stress Your Door
Indiana’s winter-to-spring transition is hard on garage doors in ways that generic national guides don’t address. Carmel sits in a climate where temperatures can swing across the freezing point repeatedly through late winter, and that cycle does two specific things to your door system.
First, the bottom seal. Every freeze-thaw cycle expands and contracts the concrete slab the door sits on. That movement works a rubber or vinyl bottom seal loose at the corners and along the threshold. A seal that sits perfectly in July can develop a visible gap by February. That gap lets in cold air, moisture, and pests, and it also confuses the door’s closed position, because the opener thinks the door is fully down when it isn’t. Replacing a bottom seal is one of the few adjustments many homeowners can handle themselves, though we recommend a professional check if the seal carrier is bent.
Second, track warping. The steel tracks that guide your door are anchored to the framing, and the framing moves with the frost. A track that’s plumb in October can be a quarter-inch out of alignment by March. That misalignment makes the door drag, which loads the opener, which shortens the life of the gear and sprocket. If your door has gotten noisier or slower since the last cold snap, a track alignment check is the first step. We handle track and alignment work as part of our garage door repair service in Carmel, and it’s often the fix that makes the biggest difference after a hard winter.
One local note: Carmel’s building department can tell you what’s required for any structural or track-anchor work, so if a repair touches the framing or the door’s structural mounting, it’s worth a call to them before the work starts.
Opener Problem or Door Problem? The Two-Minute Test
Before you start diagnosing the opener, you need to know whether the problem is actually in the door. The test is simple, and most guides skip it entirely.
- Pull the manual release. The red cord hanging from the opener carriage disconnects the door from the opener. Pull it, then try to lift the door by hand.
- Lift the door halfway and let go. A properly balanced door should stay roughly where you leave it, or drift slowly. If it drops fast or feels extremely heavy, the problem is mechanical: springs, cables, or rollers. The opener is fine. Stop here and call a professional.
- If the door lifts easily and stays put, the door is balanced. The problem is likely electrical or in the opener itself: power, safety sensors, the logic board, or the remote.
That test takes under two minutes and settles the question. If the door is unbalanced, the opener is doing work it was never designed to do, and running it will burn out the motor. If the door is balanced but the opener won’t move it, you’re looking at an opener issue. We can diagnose both in a single visit, which is one reason we offer garage door opener repair alongside mechanical repair. Knowing which system you’re dealing with saves time, money, and a second appointment.
One word of caution: never try to correct an unbalanced door by adjusting the spring yourself. That’s covered in the next few sections, and it’s genuinely dangerous.
What the Sound Tells You: Grinding, Clicking, and Silence
Sound is the most underused diagnostic tool in garage door troubleshooting. A door that grinds, clicks, or goes silent is telling you exactly which component is failing, if you know how to listen.
Grinding: A grinding sound usually comes from the metal-on-metal contact between the rollers and the track, or from a dry torsion tube. If the grinding is continuous, it’s likely a worn roller or a bent track section. If it only happens at one point in the door’s travel, it’s usually a track obstruction or a damaged hinge. Lubricating the rollers, hinges, and torsion tube with a garage-door-specific lubricant (not WD-40) can quiet a dry door, but if the grinding persists after lubrication, a professional inspection is the next step.
Clicking: Clicking from the opener housing is almost always electrical. The relay on the logic board clicks when it engages, and a failing relay can produce a rapid click-click-click without moving the door. This is common in older LiftMaster and Chamberlain units, and it’s usually a board-level repair or replacement. Clicking from the door itself, especially near the hinges, is different: that’s usually a loose hinge or a roller that’s seized and slipping.
Silence: If you press the remote and nothing happens, work through the list in order: check the wall switch (if the wall switch works but the remote doesn’t, the problem is the remote or the receiver), check the safety sensors (a misaligned sensor will stop the door before it starts), check the circuit breaker, then check the logic board. A Genie screw-drive unit that’s totally silent after a power surge often has a blown capacitor or a damaged board. Silence plus a hum is different: that means the motor is trying to run but the door isn’t moving, which points back to a mechanical problem.
If sound alone doesn’t narrow it down, our team at Carmel Garage Door Service can run a full diagnostic, and we’re familiar with the opener logic and mechanicals across LiftMaster, Chamberlain, Genie, and Raynor systems.
What You Can Safely Check and What Needs a Pro
The most important distinction in garage door troubleshooting is between what a careful homeowner can do and what belongs to a trained technician. Getting this wrong is how people get hurt.
Safe for homeowners:
- Manual release: Pulling the release cord to disconnect the door from the opener is safe and necessary for diagnosis.
- Visual cable inspection: Look at the cables on each side of the door without touching them. Fraying, kinks, or slack are red flags. Don’t touch a cable under tension.
- Travel limit adjustment: The up and down limits on most openers are adjustable with a screwdriver. If the door stops short or hits the floor and reverses, the limits are often the culprit. Check your opener manual for the specific procedure, and never adjust a limit while the door is in motion.
- Safety sensor alignment: The two sensors at the bottom of the door track should have solid indicator lights facing each other. If one is blinking, clean the lens and realign it.
- Lubrication and visual hardware check: Lubricate rollers, hinges, and the torsion tube. Tighten visible bolts on the hinges and brackets, but never on the spring system.
Requires a professional:
- Torsion spring work: The torsion spring above the door stores enormous energy. Adjusting, releasing, or replacing it without the right tools and training can cause serious injury. Don’t attempt it.
- Cable replacement: Cables are under tension and can snap. They’re replaced only after the spring tension is safely released, which is a professional job.
- Track replacement and structural mounting: A bent track or a loose anchor is a structural issue. This is where the door’s weight and movement are controlled.
- Opener logic board replacement: If you’ve narrowed it to the board, replacing it is a technician’s task, especially on newer units with smart-home integration.
Our rule of thumb: if a repair involves the springs or the cables, call a technician. Everything else is fair game for a careful homeowner, as long as you never put your hands near a spring or a tensioned cable. A word on safety: a garage door is the heaviest moving object in most homes, and a spring failure can happen without warning. If you hear a loud bang from the garage and the door won’t lift, stop and call a professional rather than trying to force it.
Springs and Cables: Why These Are Never a DIY Fix
Torsion springs and cables are the most dangerous components in the entire door system, and they’re also the most common failure points. Understanding how they work helps you know when to stop and call.
There are two spring types. Torsion springs mount on a shaft above the door and twist to lift the door’s weight. Extension springs run alongside the tracks and stretch to do the same job. Both store enough energy to move a door that weighs hundreds of pounds, and both can release that energy instantly if they fail. A torsion spring that snaps makes a sharp, loud report and leaves the door too heavy to lift. An extension spring that fails can whip toward anything in its path. This is why we never recommend homeowners attempt spring work, even on a door that seems simple.
Cables are the second component. They run from the bottom corners of the door up to the spring system, and they’re always under tension. A cable can fray, kink, or come off its drum. If you see a cable that’s frayed or hanging loose, don’t touch it. Call a professional. The repair requires releasing the spring tension first, and that’s the dangerous part.
In Carmel, we see spring failures most often after the first hard freeze of the season, when the metal contracts and the spring’s tension changes. If your door suddenly feels heavy or won’t stay up, a broken spring is the most likely cause. Our technicians have up to 8 years of experience with spring and cable systems, and we can usually identify the failure within minutes of arriving. If the door is also out of balance, we’ll check the whole system rather than just replacing the spring, because a single failed component often signals that the others are worn too.
Opener Troubleshooting: What Different Brands Tell You
Openers fail in brand-specific ways, and knowing the brand helps narrow the diagnosis before you pick up a multimeter. We work on LiftMaster, Chamberlain, Genie, Clopay, Amarr, Wayne Dalton, Craftsman, and Raynor systems, and each has its own patterns.
LiftMaster and Chamberlain: These two share much of their internal architecture. A common failure is the logic board relay, which produces the rapid clicking described earlier. Another is the safety sensor system, which uses a specific alignment and can be thrown off by a bumped bracket or a dirty lens. Newer units with MyQ connectivity can also fail at the Wi-Fi module, which shows up as a door that works from the wall switch but not the app.
Genie: Genie’s screw-drive and belt-drive units have a different failure profile. The screw-drive mechanism can wear at the carriage, producing a grinding sound and a door that moves unevenly. The capacitor is a common failure point after a power surge, which shows up as a silent opener with a humming motor. Genie remotes also have a pairing process that can trip up homeowners after a battery change.
Craftsman: Many Craftsman openers are older units, and their failure mode is often the gear and sprocket assembly inside the housing. A worn gear produces a grinding sound from the opener itself and a door that moves in jerks or not at all. The good news is that gear replacement is a standard repair.
Across all brands, the first troubleshooting step is the same: check the power, check the safety sensors, check the wall switch, then check the remote. If none of those solve it, you’re into the opener’s internals, and that’s where a specialist’s familiarity with the brand saves time. We can work on whatever brand you already have, and we’ll tell you honestly whether a repair or a replacement is the better call.
The Decision Tree: Run Your Symptom to a Next Step
Here’s the practical part. Find your symptom in the list below and follow it to a concrete next action.
- The door won’t move at all. Check the power at the outlet, then the circuit breaker, then the wall switch. If the wall switch works, the problem is the remote or receiver. If nothing works, pull the manual release and try lifting the door by hand. Heavy door means a mechanical failure; call a technician. Light door means an opener failure; call for opener repair.
- The door reverses immediately after closing. Check the safety sensors first: clean the lenses and confirm both indicator lights are solid. If the sensors are fine, the close-force limit may be set too low. Adjust it per your opener manual, or call if you’re unsure.
- The door stops short of the floor or hits and reverses. This is usually a travel limit issue. Adjust the down limit a quarter-turn at a time and test. If the door still won’t close fully, the bottom seal or a track obstruction may be the cause.
- The door is noisy or grinds. Lubricate the rollers, hinges, and torsion tube. If the noise persists, check for a bent track or a worn roller. A persistent grind after lubrication is a repair call.
- The door sags or looks uneven. Stop using the opener. A sagging door usually means a broken spring or a cable issue. This is a professional repair, and running the opener will make it worse.
- The opener clicks but the door doesn’t move. This points to the logic board relay or a gear failure. Call for opener repair, and mention the brand so the technician arrives with the right parts.
- You see a gap at the bottom of the door. Check the bottom seal for wear or a loose corner. If the seal carrier is bent, a professional repair is the safer route, especially after a Carmel winter.
If you’ve run through the list and you’re still not sure, that’s the point to call. We answer the phone 24/7, and our Carmel team can usually tell you over the phone whether you’re looking at a repair or an opener issue before anyone comes out. For a broader look at what we do, our garage door opener repair page covers the diagnostic side in more depth.
Common Mistakes to Avoid
- Forcing a heavy door with the opener. If the door is hard to lift by hand, the opener is already straining. Running it will burn out the motor and may snap a cable. Stop and call.
- Using WD-40 on the tracks and rollers. It attracts dirt and gums up the works. Use a garage-door-specific lubricant, and never lubricate the tracks themselves; they’re designed to run dry.
- Adjusting the torsion spring without the right tools. This is the mistake that causes the most injuries. Spring tension is not a homeowner adjustment, no matter what a video says.
- Ignoring a small gap at the bottom seal. In Carmel, a gap that starts in late winter can let in moisture that freezes and expands, worsening the seal and the door’s alignment. Fix it early.
- Replacing the opener when the door is the problem. If the door is unbalanced, a new opener will fail too. Diagnose the door first using the two-minute test.
- Assuming a silent opener means a dead opener. Check the safety sensors, the wall switch, and the breaker first. Often the opener is fine and a sensor is misaligned.
- Putting off a track alignment after a hard winter. A track that’s out of alignment in March will wear the rollers and the opener all year. A quick alignment check saves a bigger repair later.
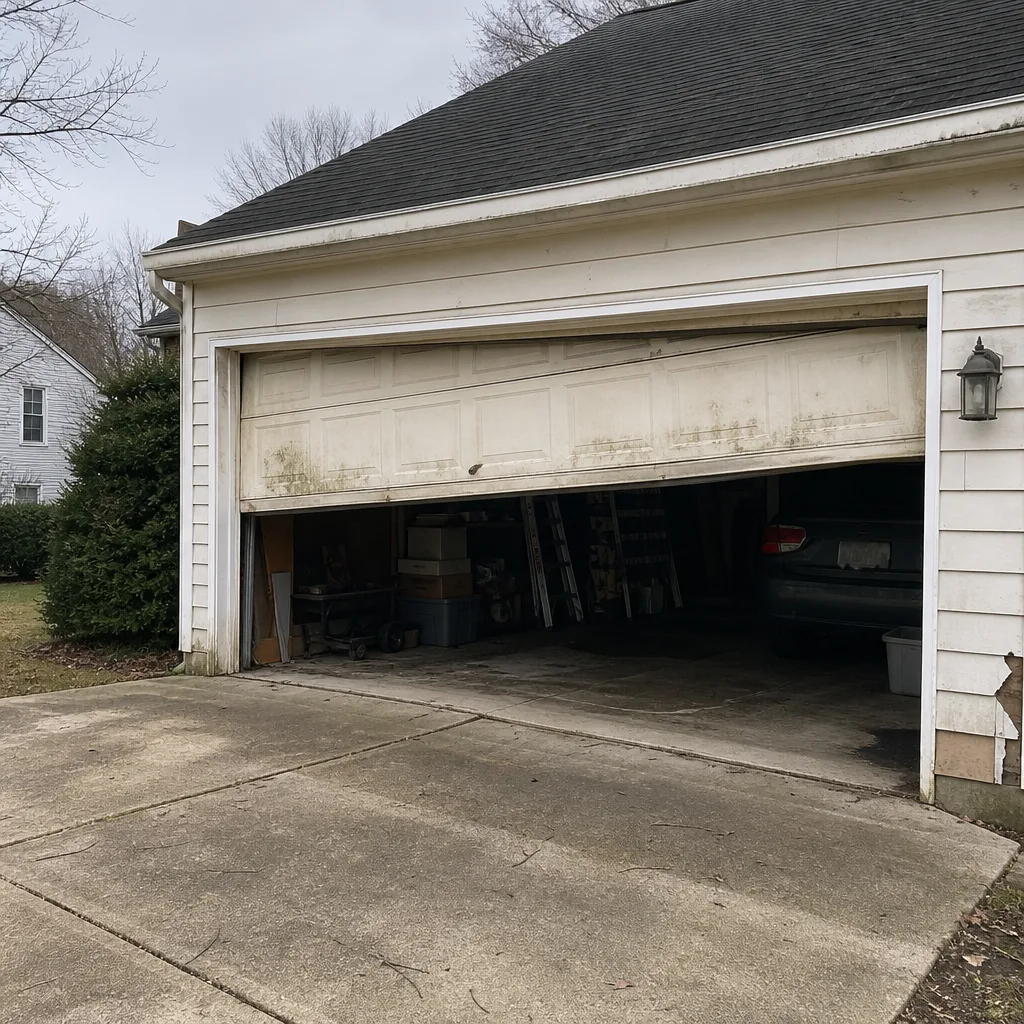
See the difference
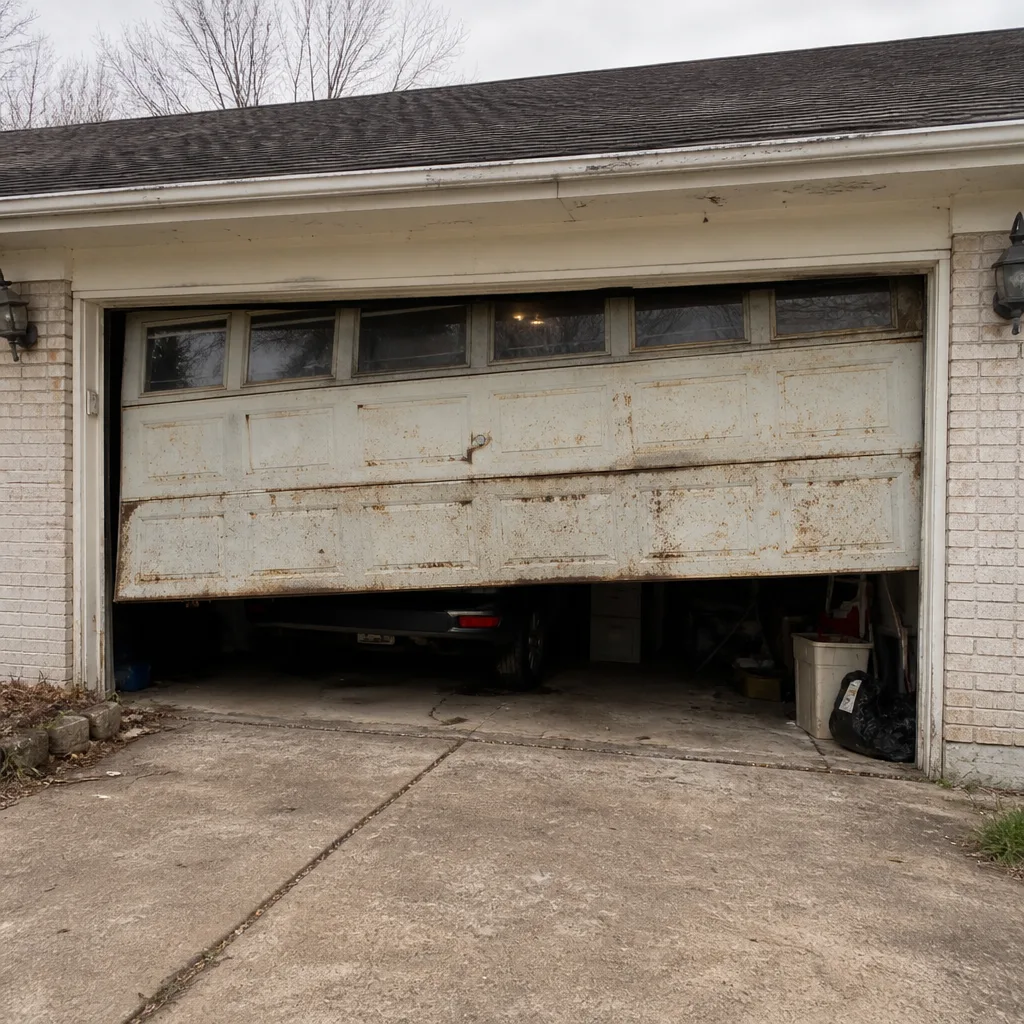 Before
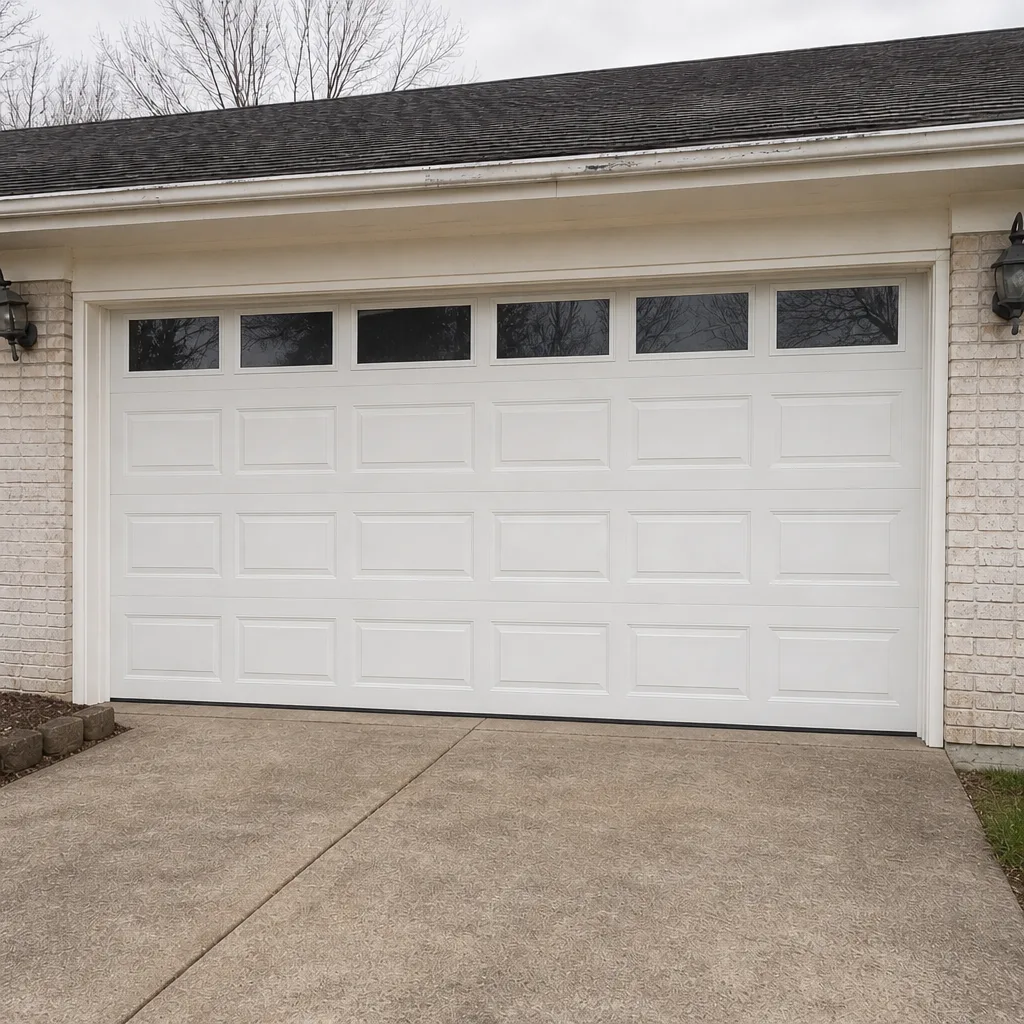 After
 Before
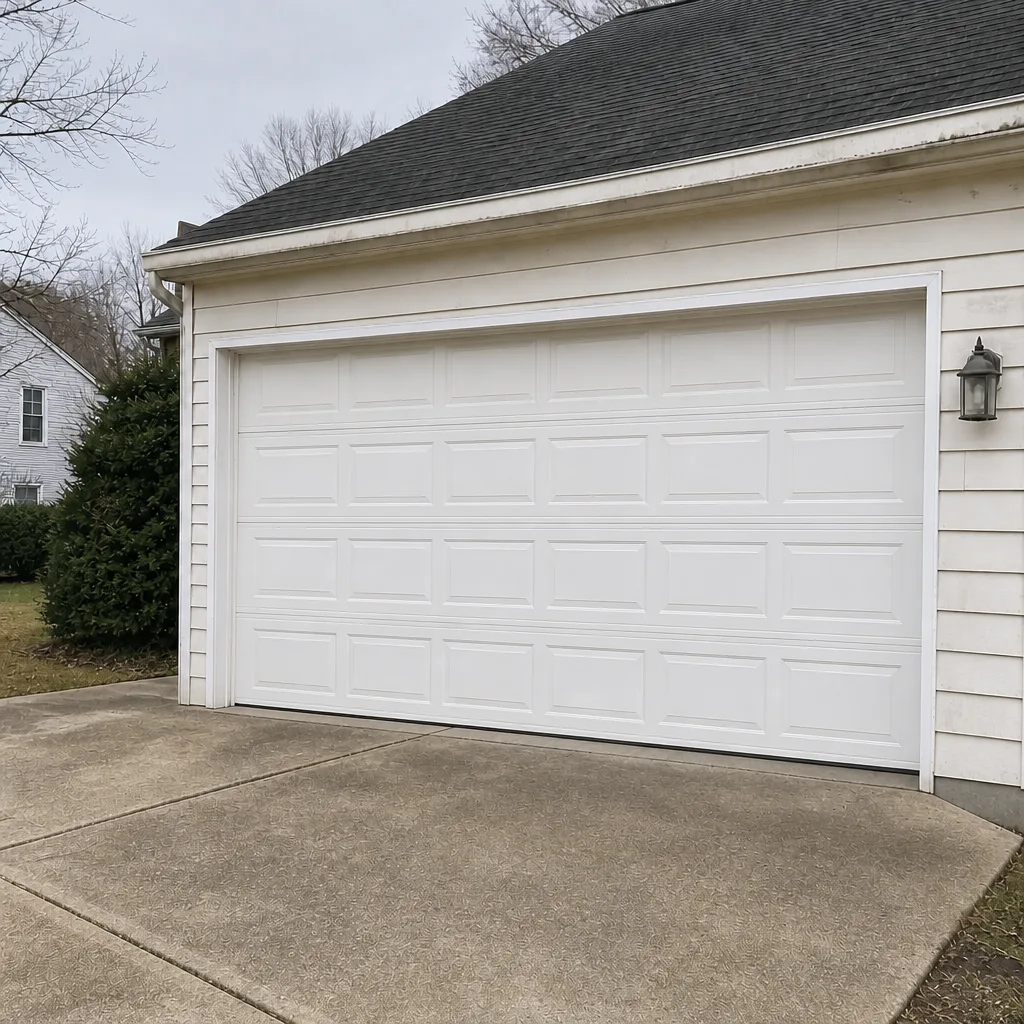 After
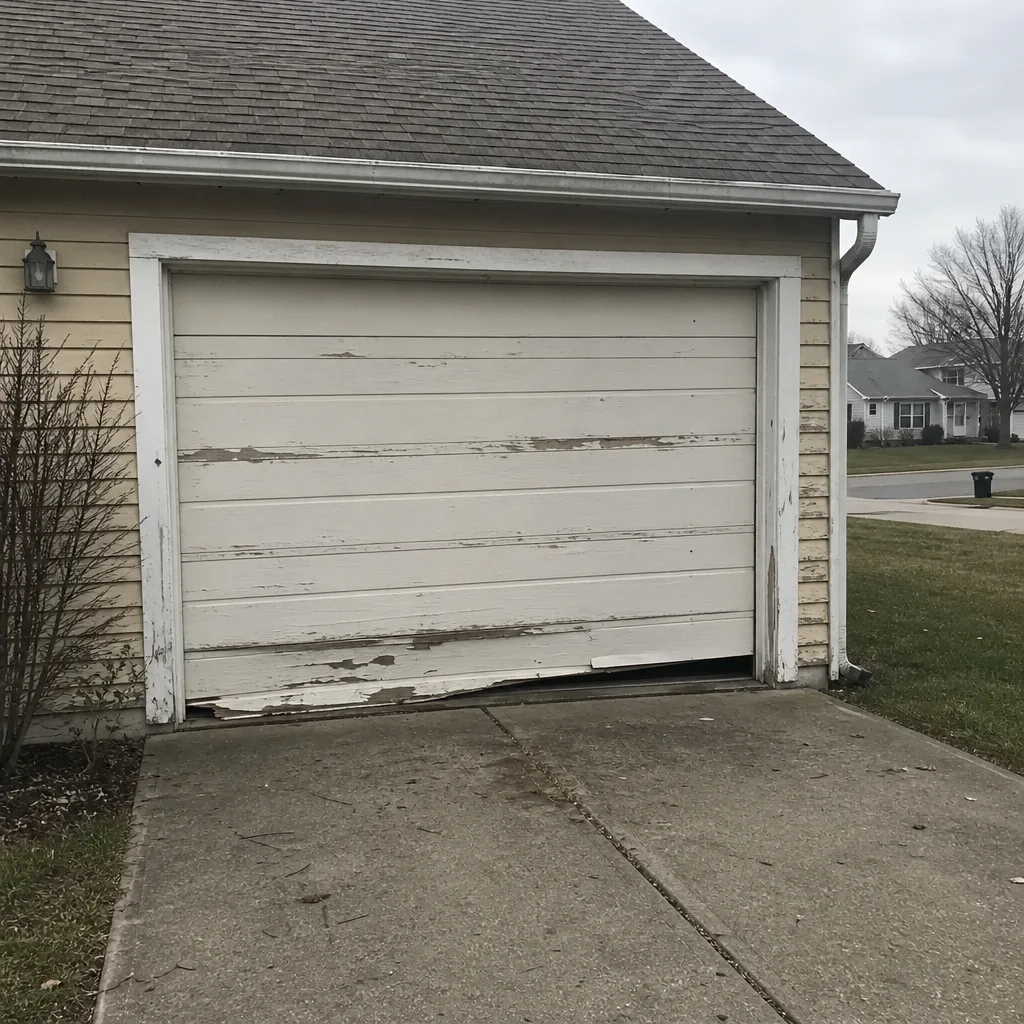 Before
 After
When to Call a Professional
Call a professional if the door is heavy to lift by hand, if you see a frayed or slack cable, if the door sags or looks uneven, or if a spring has broken. Call if the opener clicks but won’t move the door, or if you’ve checked the sensors, power, and remote and the door still won’t respond. And call if you’re simply not sure; a phone diagnosis is often enough to point you in the right direction.
Carmel Garage Door Service offers free estimates in Carmel. Call (855) 535-1056. We answer 24/7. Fast dispatch from 7am to 7pm, Sunday through Friday. Our technicians have up to 8 years of experience, and we work on the door, the springs, and the opener in a single visit, so you’re not scheduling a second company for the same problem.
Frequently Asked Questions
Most garage door repairs in Carmel fall into a few typical ranges: spring replacement is usually $180 to $340 per spring, opener repair is typically $120 to $280 depending on the part, and cable or roller replacement is often $100 to $250. A matched pair of springs is usually replaced together, so a pair costs about twice the single-spring range. These are estimates; the written estimate sets the final price, and we quote and agree on it before any work starts. Call (855) 535-1056 for an exact quote; estimates are free.
For repair calls, we can often schedule same-day service in Carmel. Call (855) 535-1056 and we’ll confirm availability. We answer 24/7, and a call outside dispatch hours is booked into the next opening, Sunday through Friday, 7am to 7pm. Installation and replacement work is measured, ordered, and scheduled, so that’s a separate timeline.
No. We quote and agree on the price before any work starts, and the written estimate is the price. If we find something additional during the repair, we’ll tell you before we do it, and you decide whether to proceed. There are no surprise add-ons after the fact.
Yes. Our technicians are state-licensed and insured, and they’re trained specifically on garage doors rather than general handyman work. We service LiftMaster, Chamberlain, Genie, Clopay, Amarr, Wayne Dalton, Craftsman, and Raynor systems, so we arrive already familiar with your brand’s mechanics and opener logic.
A door that reverses on contact usually has a safety sensor issue or a close-force limit set too low. Clean the sensor lenses and check that both indicator lights are solid. If the sensors are fine, the close limit may need a small adjustment. If it still reverses, call (855) 535-1056 for a diagnostic; estimates are free.
No. Torsion and extension springs store enough energy to cause serious injury, and the tools and technique required are not homeowner-level. Spring and cable work is the one part of garage door repair we always recommend leaving to a professional. Call (855) 535-1056 and we’ll take care of it safely.
The Bottom Line
Garage door troubleshooting gets much simpler once you stop guessing at parts and start grouping symptoms. Sound, movement, and visual cues tell you which of the four systems is failing: springs, cables, opener, or tracks and hardware. Carmel’s freeze-thaw cycles add their own wear patterns, especially at the bottom seal and the tracks, and those are worth checking every spring. Homeowners can safely test the manual release, inspect cables visually, adjust travel limits, and align sensors. Springs and cables belong to a professional, every time. If you’ve run the decision tree and you’re still stuck, that’s what we’re here for.
Ready to get your door working again? Call Carmel Garage Door Service at (855) 535-1056 for a free estimate. We answer 24/7, with fast dispatch from 7am to 7pm, Sunday through Friday. Whether it’s the door, the springs, or the opener itself, we’ll diagnose it on the first visit and give you a written price before any work begins.
Written by the team at Carmel Garage Door Service.