
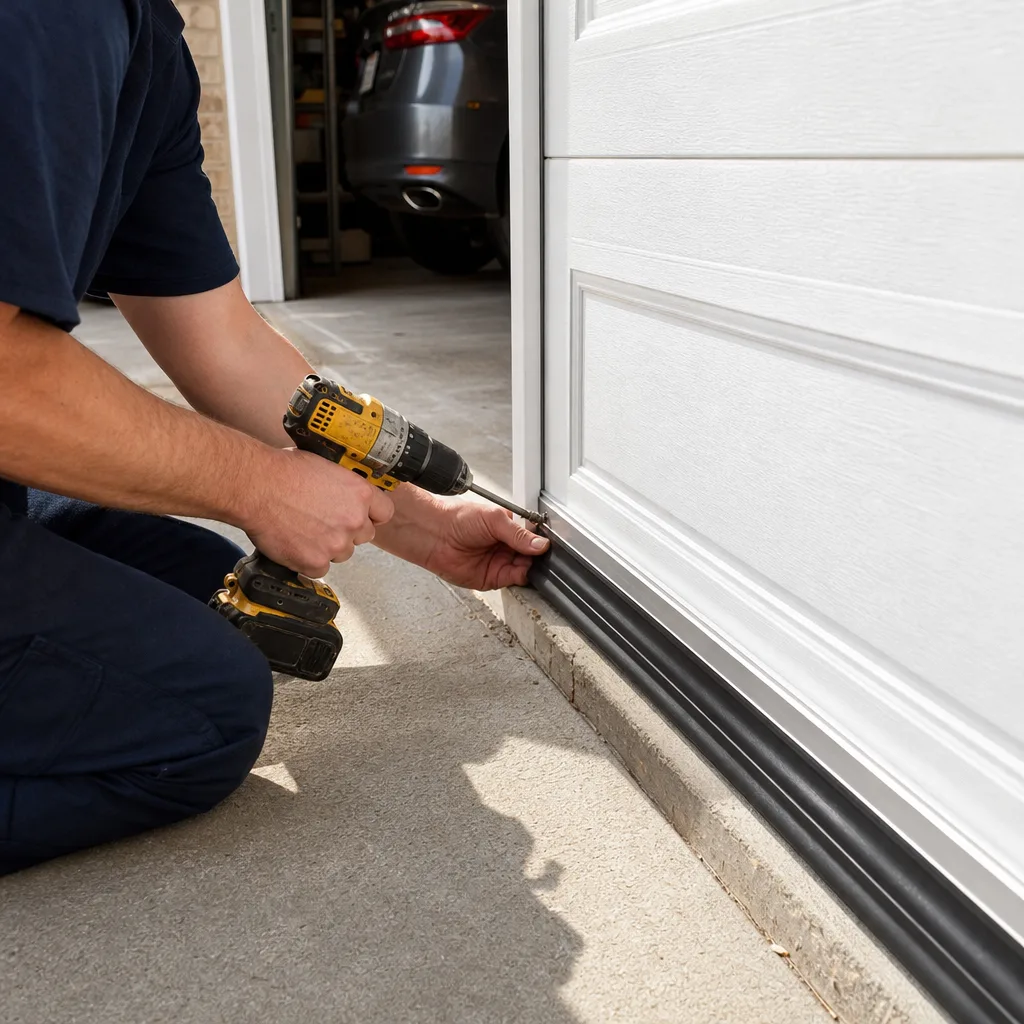
Last updated November 15, 2026
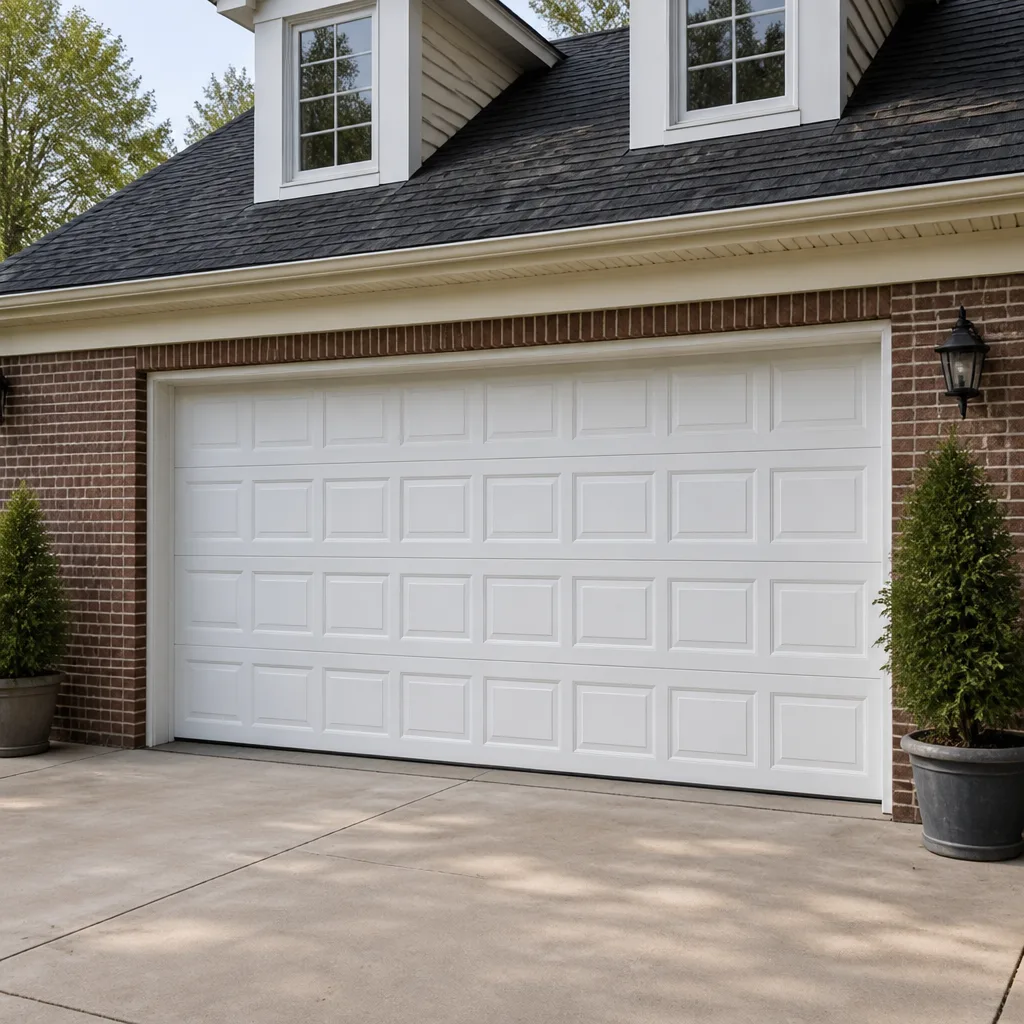 Raised-panel steel
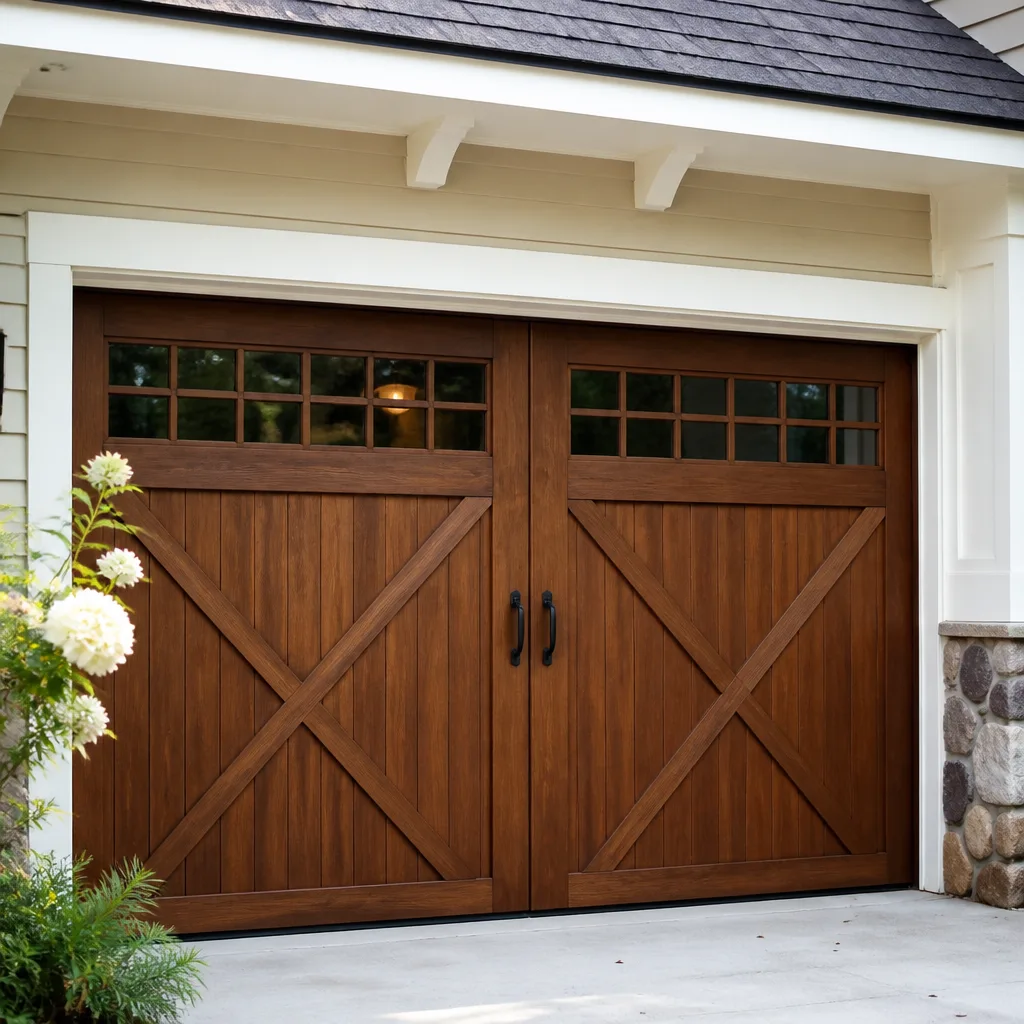 Carriage house
 Modern flush
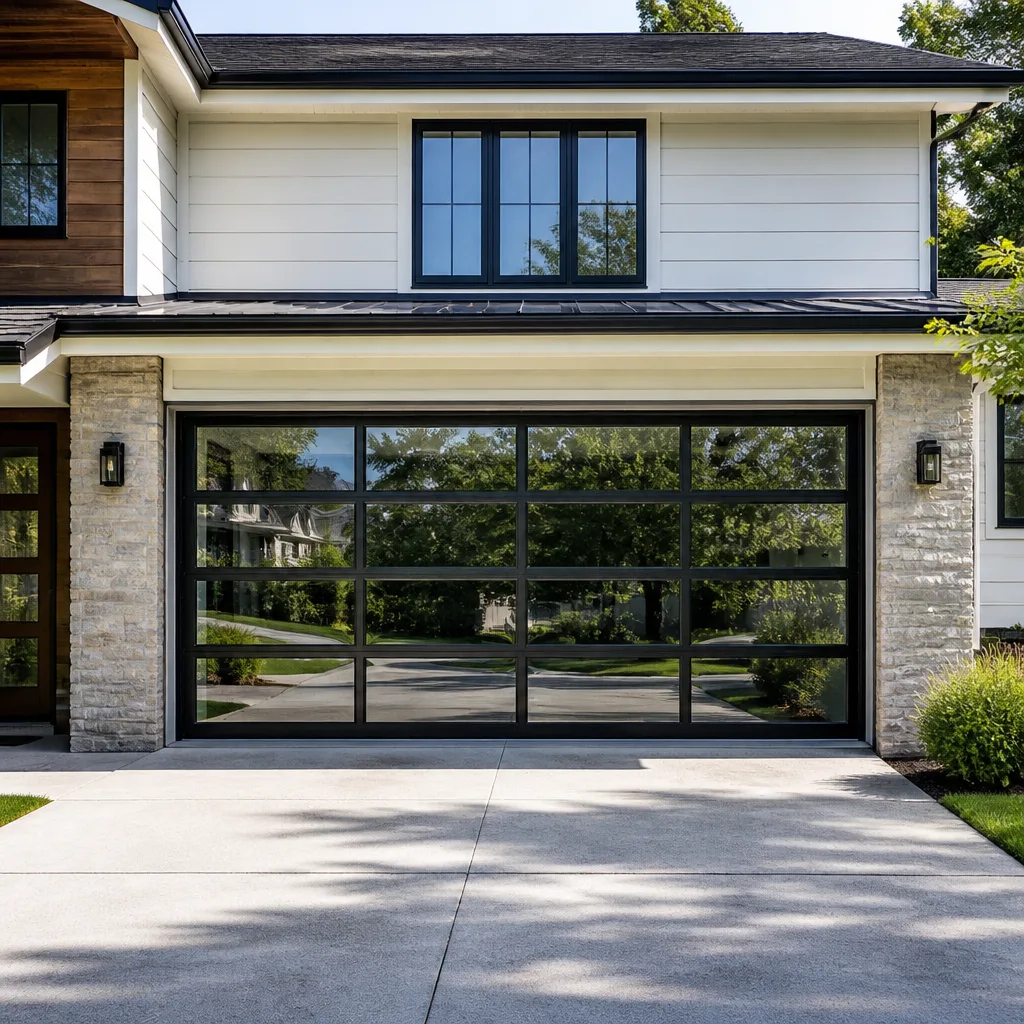 Full-view glass
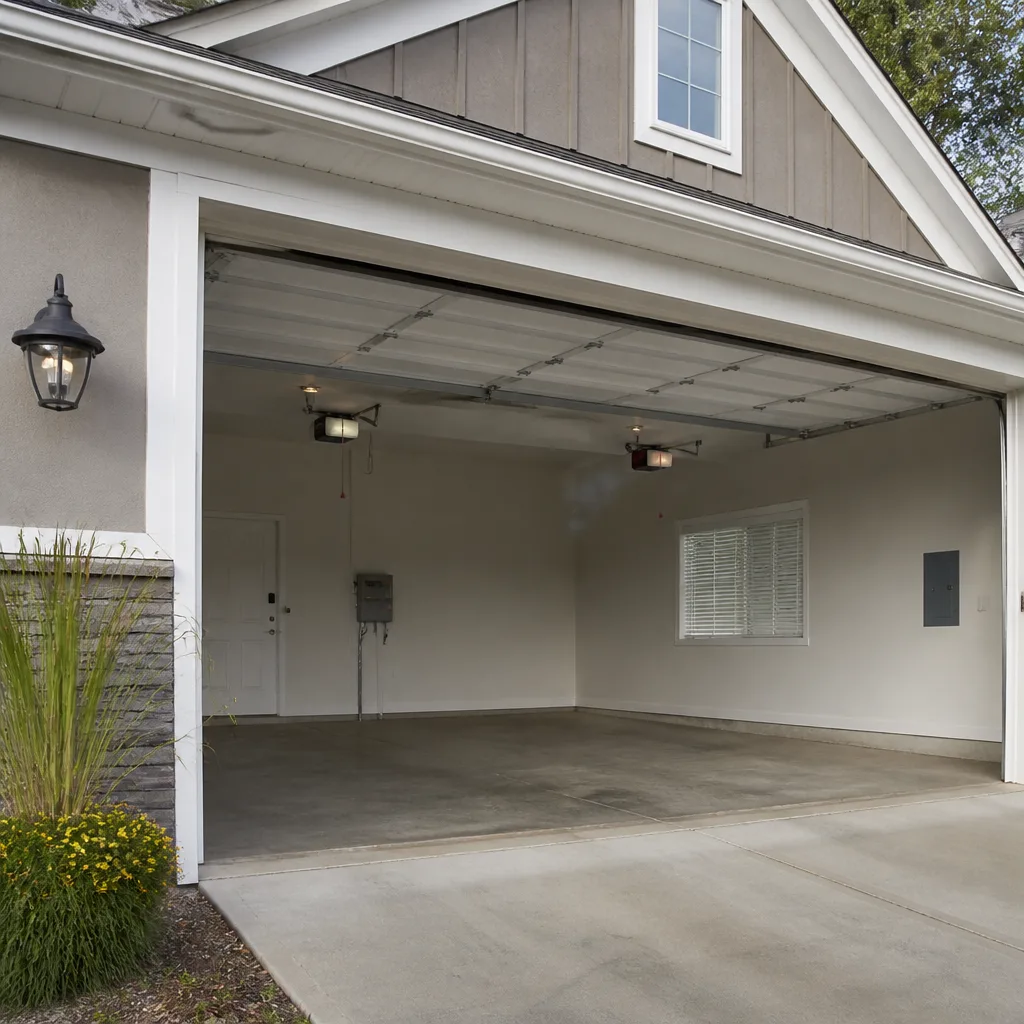 LiftMaster openers
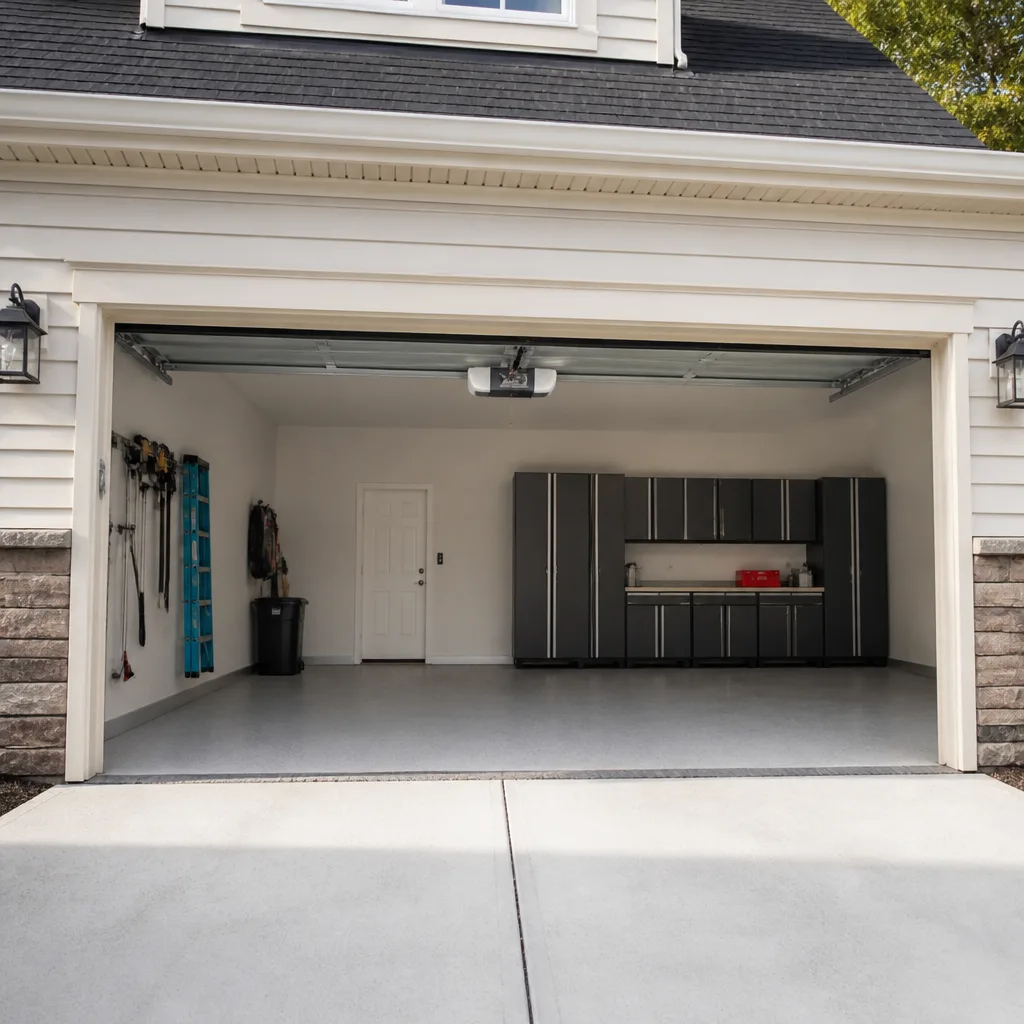 Chamberlain openers
Full 25-point door and opener safety check with every visit - springs, cables, rollers, tracks, and your LiftMaster or Chamberlain opener included
You get a price before we start. It does not change when the pro arrives.
Get your free estimateGarage Door Repair Maintenance Checklist for Carmel Homeowners
A torsion spring rated for 10,000 cycles sounds like plenty until you do the math. Open the garage four times a day and that rating is gone in under seven years. Most Carmel homeowners have no idea when their springs were last replaced, or that the clock has been running the whole time. That gap between what a spring is rated for and how fast a busy household spends it is where most surprise breakdowns come from. This guide walks through a checklist built around what actually fails on Carmel doors: winter road salt on the hardware, openers working harder in attached garages that hold the cold, and springs that wear out faster on multi-car driveways.
Quick Answer
A practical garage door maintenance checklist for Carmel homes covers four things: a monthly visual and safety check, a quarterly lubrication and hardware tightening routine, an annual spring-cycle and balance assessment, and a force-sensitivity test on the opener every few months. Do those and you’ll catch most failures before they strand a car in the driveway. Indiana winters and road-salt season are the two local factors that speed up wear on hinges, rollers, and bottom brackets the most.
Styles & brands we work with
- Raised-panel steel
- Carriage house
- Modern flush
- Full-view glass
- LiftMaster openers
- Chamberlain openers
Table of Contents
- The Cycle-Count Math Behind Your Springs
- The Five Hardware Points That Corrode Fastest in Indiana Winters
- The 30-Second Opener Force Test Most Homeowners Skip
- Why WD-40 Is the Wrong Lubricant and What to Use Instead
- Quarterly vs. Annual: The Realistic Task Split
- Brand Notes: What to Watch on Genie, Clopay, Amarr, and Wayne Dalton Systems
- Noise, Sag, and Other Early Warning Signs
- When to Call a Professional Instead of DIY
The Cycle-Count Math Behind Your Springs
A garage door spring cycle is one full open and one full close. Every spring has a rated cycle life, and when the count runs out, the spring breaks. A standard torsion spring is typically rated somewhere in the 10,000-cycle range. A higher-cycle spring rated for longer service costs more to replace, and many homeowners only learn this after a break.
Here’s where Carmel households spend that rating faster than they expect. Estimate your daily cycles by counting how many times the door goes up and down on an average weekday, then add weekend use. A family with two drivers who each leave and return once, plus a school pickup and a trash run, easily hits six to eight cycles a day. At six cycles a day, a 10,000-cycle spring is spent in about four and a half years. At four a day, you get closer to seven.
The pattern matters too. A multi-car household with staggered schedules spreads cycles across the whole day, which is actually gentler than the same count compressed into a tight morning-and-evening burst. What really drains spring life is the door that gets opened and closed in short intervals, because heat builds in the spring coils and the metal fatigues faster.
How to estimate your remaining spring life
- Count every open and close on a typical weekday, including quick trips.
- Add a Sunday count and divide by two for an average.
- Multiply that average by 365 to get annual cycles.
- Divide the spring’s rated cycle life (10,000 for a standard spring) by your annual cycles.
- Subtract the years the door has been in service since the last spring replacement.
If the result is under two years, plan for a spring replacement before it breaks on its own schedule. Springs almost always fail when the door is under load, which means mid-driveway, in the cold, at the worst possible moment. If you don’t know when the springs were last replaced, treat them as a question mark and have them assessed.
Springs and cables are under extreme tension, and a broken spring or a cable that snaps under load can cause serious injury. We never recommend homeowners adjust, tension, or remove springs or cables. That’s a job for a trained technician with the right winding bars and the right technique.
The Five Hardware Points That Corrode Fastest in Indiana Winters
Road salt is the quiet killer of garage door hardware in Carmel. It rides in on tires, splashes onto the door’s lower section, and settles on hinges, rollers, and track. Add the freeze-thaw cycle of an Indiana winter, and you get hardware that seizes, binds, and eventually fails.
These five points corrode first and are worth a look every few weeks from late November through early March.
- Bottom brackets and bottom rollers. Closest to the road spray, these take the heaviest salt exposure. Corroded rollers start skipping and grinding in the track.
- Hinges on the lower two panels. Salt collects in the knuckle and pins rust, which binds the panel joints and puts extra strain on the opener.
- Track edges at floor level. Salt and grit get packed into the curve where the track meets the floor, causing the door to catch as it closes.
- Steel rollers. Steel rollers rust and flatten faster than nylon ones in a salt climate. If yours are steel and you’re near a salted road, they’re a candidate for replacement with nylon.
- Lock and handle hardware. Even a decorative handle or a slide lock picks up rust when salt-laden air settles on it.
How to treat the corrosion points
- Wipe down the lower panels and hardware with a damp cloth after the worst of the winter storms.
- Dry thoroughly, then apply a garage-door-specific lubricant to hinges, rollers, and track edges.
- Wipe away excess so grit doesn’t stick to greasy surfaces.
- Replace any roller that spins roughly or has visible rust pitting.
- Check the bottom seal for cracks and replace it before spring meltwater gets underneath.
Keeping the door hardware clean and lubricated through winter is the single most effective maintenance habit for a Carmel home near a salted road. If your hardware is already badly corroded and binding, that’s worth a service call rather than a weekend of scrubbing. For garage door repair that involves replacing rollers, hinges, or a bottom bracket, a proper assessment gets the right parts in the right places.
The 30-Second Opener Force Test Most Homeowners Skip
Your opener has a force-sensitivity setting that controls how hard it pushes before it reverses. If that setting is too high, the door won’t reverse when it meets an obstacle. That’s the failure mode the test exists to catch, and it takes about 30 seconds.
How to test force sensitivity
- Stand clear of the door path and close the door using the remote.
- Place a small object roughly the size of a piece of lumber flat on the ground under the door’s center.
- Press the button to close the door and watch. The door should reverse as soon as it contacts the object.
- If the door presses down on the object and keeps pushing, the force setting is too high and needs adjustment.
- Test the photo-eye safety sensors separately by placing an object in their beam and confirming the door refuses to close.
Most openers have adjustment dials or trim pots for both force and travel limits, but where they live depends on the brand. On Genie and Chamberlain openers, the adjustment points are usually near the motor housing under a light lens cover. On LiftMaster and Craftsman units, they’re often on the back panel. If the adjustment location isn’t obvious, the model’s manual is the fastest reference.
Force settings drift over time as the door’s weight balance changes and the opener’s internal components wear. That’s why the test is worth repeating every few months, not just once. If the door reverses on its own when it meets the floor, or reverses before it reaches the floor, that’s the same adjustment out of spec in the other direction.
If you’ve adjusted the force and the door still won’t reverse properly, the door’s balance or the opener’s logic board may be the problem. That’s when a call makes sense. A force setting pushing too hard is the safety issue the test catches, so don’t skip it.
Why WD-40 Is the Wrong Lubricant and What to Use Instead
WD-40 is a solvent and water displacer, not a long-term lubricant. Used on garage door hinges and rollers, it thins out the existing lubricant and leaves metal drier than it was, which attracts grit and accelerates wear. It feels like a fix for a squeak, but it’s not the right product for the job.
What you want is a garage-door-specific lubricant, typically a silicone spray or a lithium grease, depending on the component. Each part takes a different product because each part has a different load and a different exposure.
- Hinges and steel rollers: a spray lubricant designed for garage door hardware, applied at the pivot points and wiped clean of excess.
- Nylon rollers: no lubrication needed. Oil attracts dirt, and dirt on nylon is worse than dry nylon.
- Torsion spring: a light spray of silicone once a year, never grease. Grease traps grit and accelerates wear in the coils.
- Track: avoid lubricating the track itself. A dry track stays cleaner and gives the rollers a smoother path.
- Trolley and opener rail: follow the opener manufacturer’s recommendation, which on most brands means silicon spray rather than grease.
We get called out often for what starts as a “squeaky door” and turns out to be hardware that’s been lubricated with the wrong product and packed with grit. The right lubricant applied quarterly solves most of it. The wrong one makes it worse. Our technicians work on Genie, Wayne Dalton, and other common Carmel systems and know which components want what. When the sound is coming from the opener rather than the door, that’s garage door opener repair territory, and the diagnosis is usually quick.
Quarterly vs. Annual: The Realistic Task Split
Most checklists fail because they try to cram everything into one annual session. A more workable approach splits the work into what you do monthly, quarterly, and annually. The monthly tasks take minutes. The quarterly tasks take about a half hour. The annual tasks are a deeper look at the whole system.
Monthly (5 to 10 minutes)
- Listen for new sounds on open and close, especially groaning or grinding.
- Look at the door panels and the bottom seal for cracks, chips, or sag.
- Confirm the photo-eye safety sensors are clear and their indicator lights are on.
- Press the force test with a test object every other month.
Quarterly (20 to 30 minutes)
- Lubricate hinges, rollers, and the spring with the right product for each.
- Tighten any loose hinge or bracket bolts with a socket wrench.
- Wipe down the lower hardware, especially through salt season.
- Test the balance. Pull the emergency release and lift the door halfway. It should stay put without help.
- Check the track for dents, misalignment, or packed debris.
Annually (professional or careful DIY)
- Have the springs assessed for cycle life and wear.
- Check cables for fraying, which is a sign that the assembly needs professional attention.
- Confirm the opener’s force and travel limits are within spec.
- Inspect the rollers for flat spots and rust and plan replacements.
- Review whether the door’s weight balance has changed enough to need a spring tension adjustment, which a technician handles.
That split makes the checklist usable. Most Carmel homeowners can keep up with the monthly and quarterly work in a few minutes each. The annual items are the ones that make sense to hand to a specialist, because a trained eye catches things a homeowner walkaround won’t.
Brand Notes: What to Watch on Genie, Clopay, Amarr, and Wayne Dalton Systems
Every brand has a personality. We work on eight of the most commonly installed brands, and the maintenance quirks vary enough that it pays to know what your system is.
Genie openers, especially the screw-drive models, tend to develop noise at the screw when lubricant dries out. The screw-drive mechanism is durable but wants periodic attention to the rail lubrication. Belt-drive Genie units are quieter but can slip on the belt tension over time.
Clopay doors often have panel hardware that holds up well but shows wear at the hinges after several Indiana winters. The steel gauge varies by model, so if you’ve had a heavier Clopay door, the rollers take more load and wear faster.
Amarr doors tend to be well-sealed on the bottom, but the weatherstripping can still crack and let meltwater in. Watch the seal through the spring thaw.
Wayne Dalton models, especially the older foam-core units, sometimes have hardware with zinc coating that holds up reasonably well but still wants lubrication. Track alignment on these is worth a look if the door starts tracking slightly off-center.
None of this is brand criticism. It’s just where the wear comes from on each one. When your door is a Clopay or an Amarr or a Wayne Dalton, a technician familiar with the model can match the right roller and hinge replacement without trial and error. We work on your brand, and the eight brands we know well include LiftMaster, Chamberlain, Raynor, and Craftsman on the opener side. Our technicians have up to 8 years of experience across these systems. Garage doors are all we do.
Noise, Sag, and Other Early Warning Signs
A garage door tells you when something’s about to fail. It just does it in sounds and small visual cues rather than a flashing light.
- Banging or popping on open. Usually a loose hinge, a worn roller, or a spring that’s starting to lose tension.
- Grinding or squealing. Nearly always friction. It’s a lubrication miss or metal-on-metal wear.
- Loud rattle at full open. Track loose or a bracket not snugged down.
- A gap under the door when closed. The bottom seal is worn, or the door is out of balance.
- Visible sag at the top panels. A door this heavy on worn springs puts extra strain on the opener. Pull the manual release and stop using the door until it’s assessed.
- Opener light blinking or remote weak. Usually a battery or a logic-board issue, but worth testing before assuming.
In our experience, the noise complaints we see in Carmel tend to cluster around the first really cold snap after Thanksgiving, because metal contracts and clearances shift. That’s the moment to walk the door and listen. A few minutes of attention catches most of what we get called out for later.
If you hear a loud snap and the door drops or loses tension, don’t run the opener. That’s a broken spring or cable, and the door is under load. Call for a service visit instead of trying the opener again.
Common Mistakes to Avoid
- Lubricating the track. A greasy track attracts grit and slows the rollers. Keep it dry and wipe it clean instead.
- Using WD-40 as a fix for squeaks. It thins the correct lubricant out and leaves metal dry. Use the right garage-door lubricant on each component.
- Skipping the force test because the door “feels fine.” The force setting is what governs whether the door reverses on an obstacle. It drifts, so test it.
- Ignoring the bottom seal through winter. A cracked seal lets meltwater in and causes rust at the bottom panel, which is the most salt-exposed section of the door in Carmel.
- Tightening every bolt you can reach without checking the door’s balance. Over-tightening can distort a hinge plate and bind a panel.
- Assuming springs are fine because nothing has broken yet. A 10,000-cycle spring doesn’t warn you. Doing the cycle math is the only way to know.
- Running the opener after the door loses tension. That strains the opener unnecessarily and risks injury. Release the door and call.
See the difference
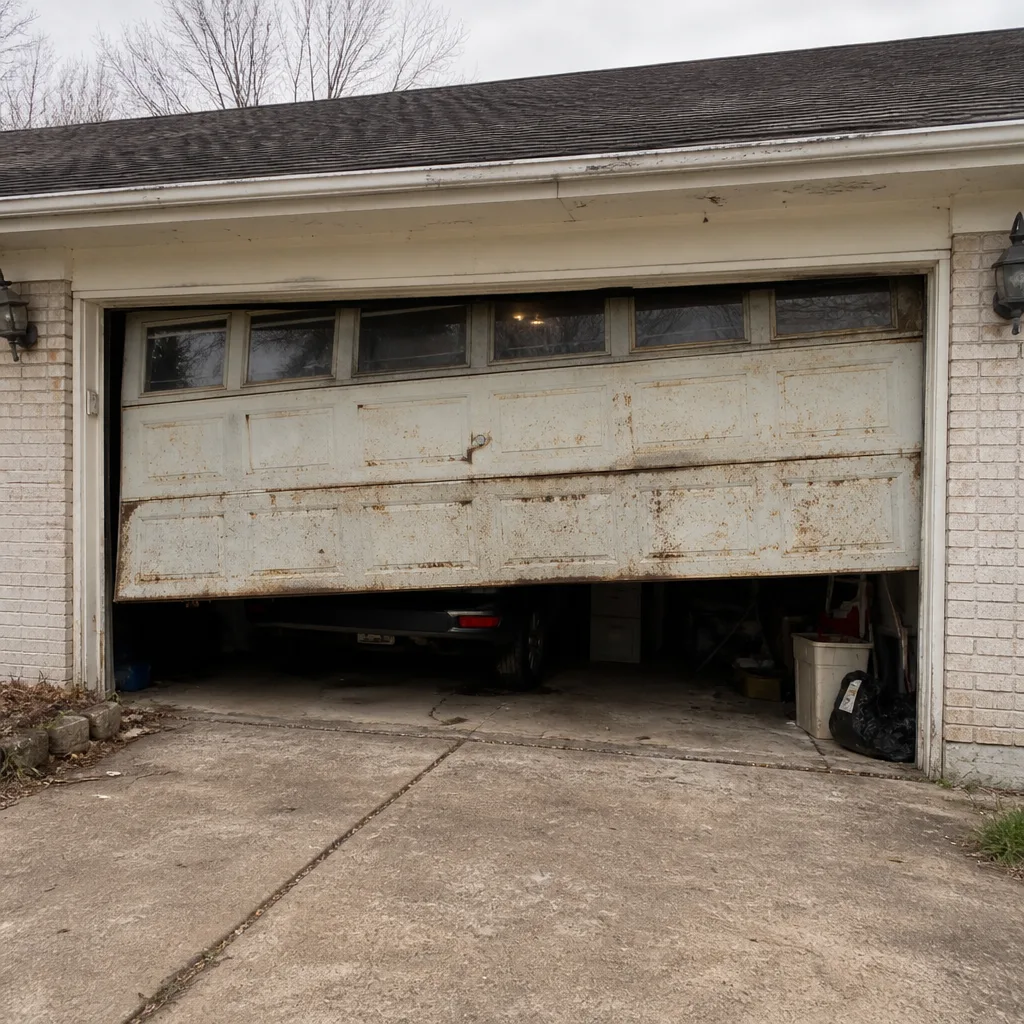 Before
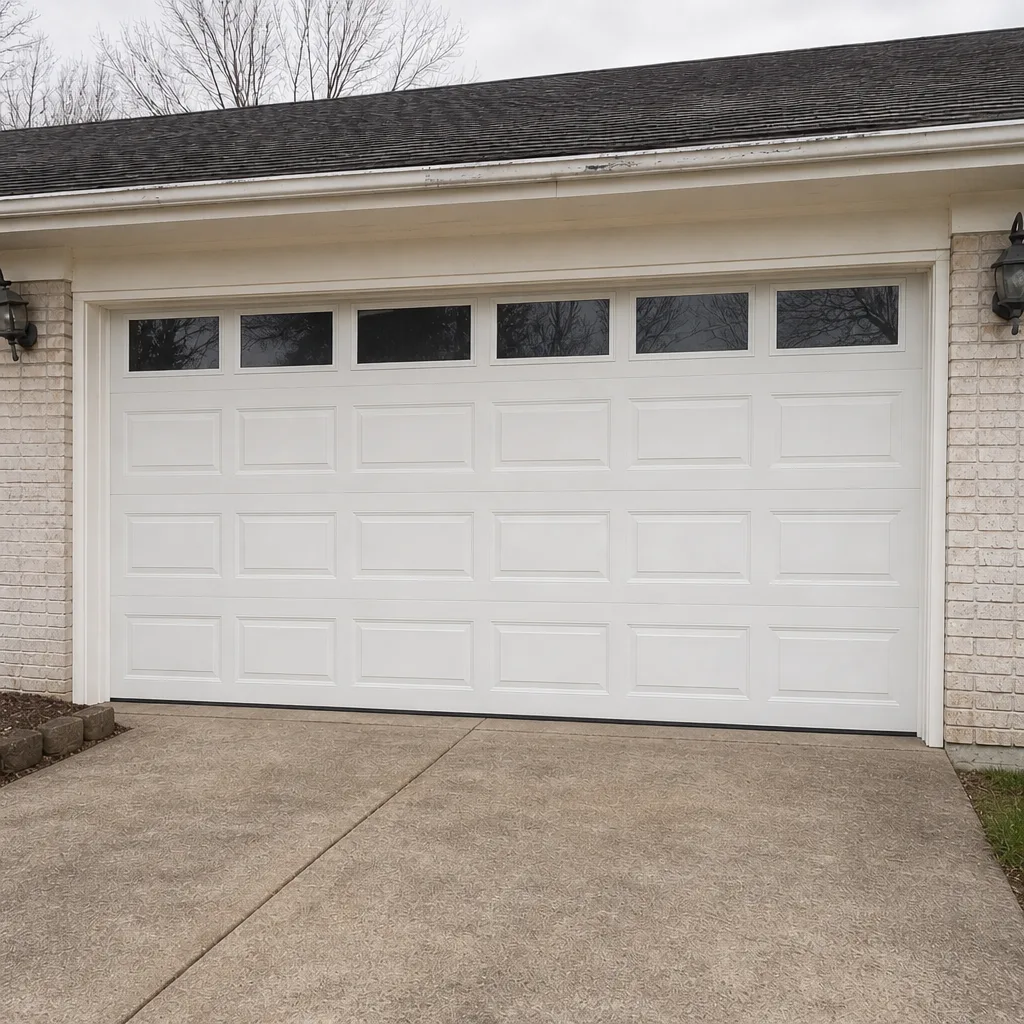 After
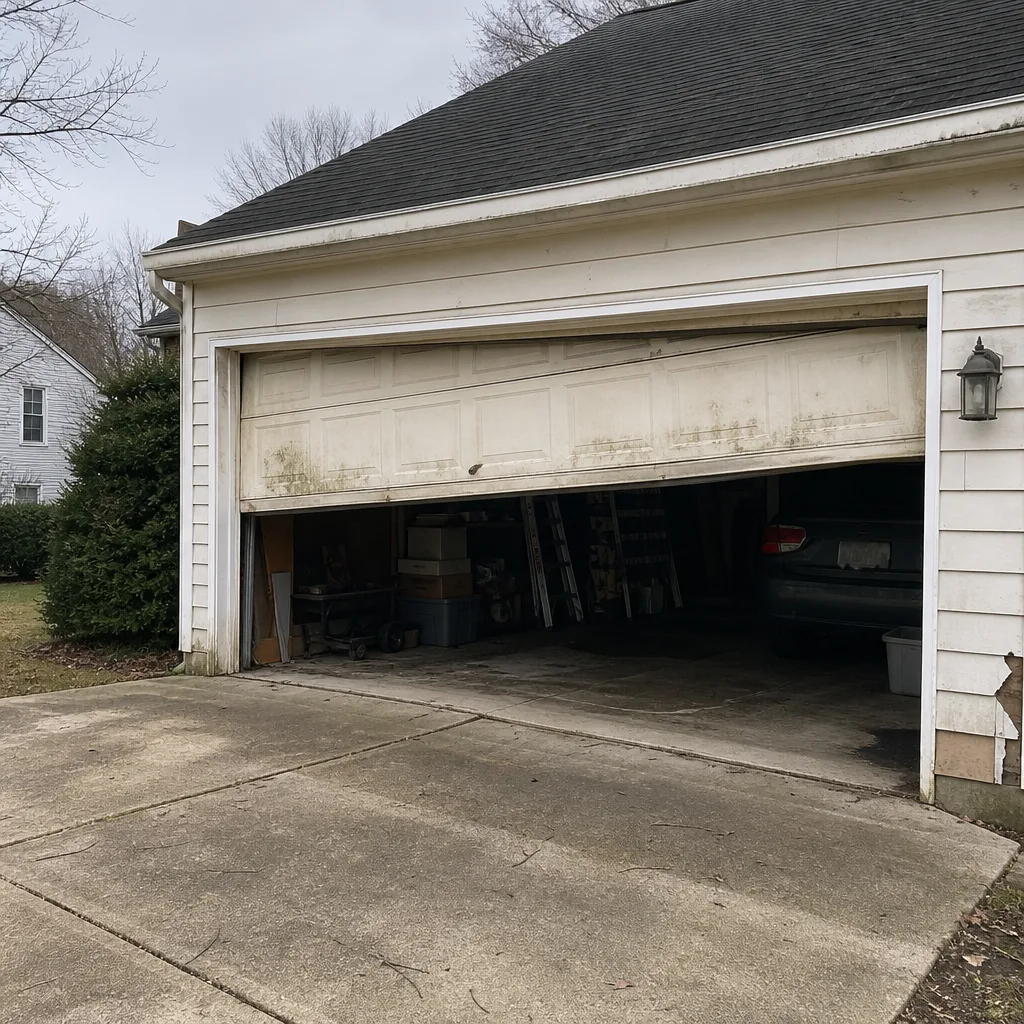 Before
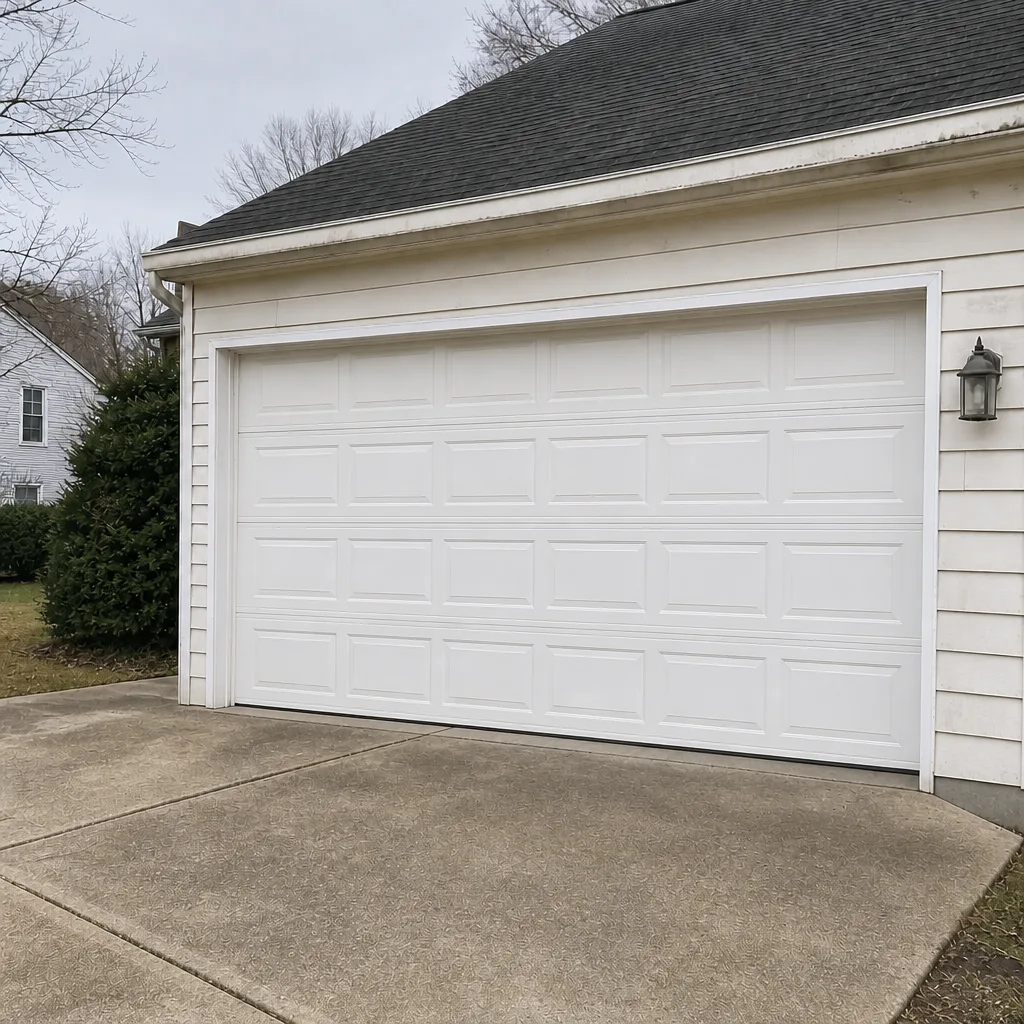 After
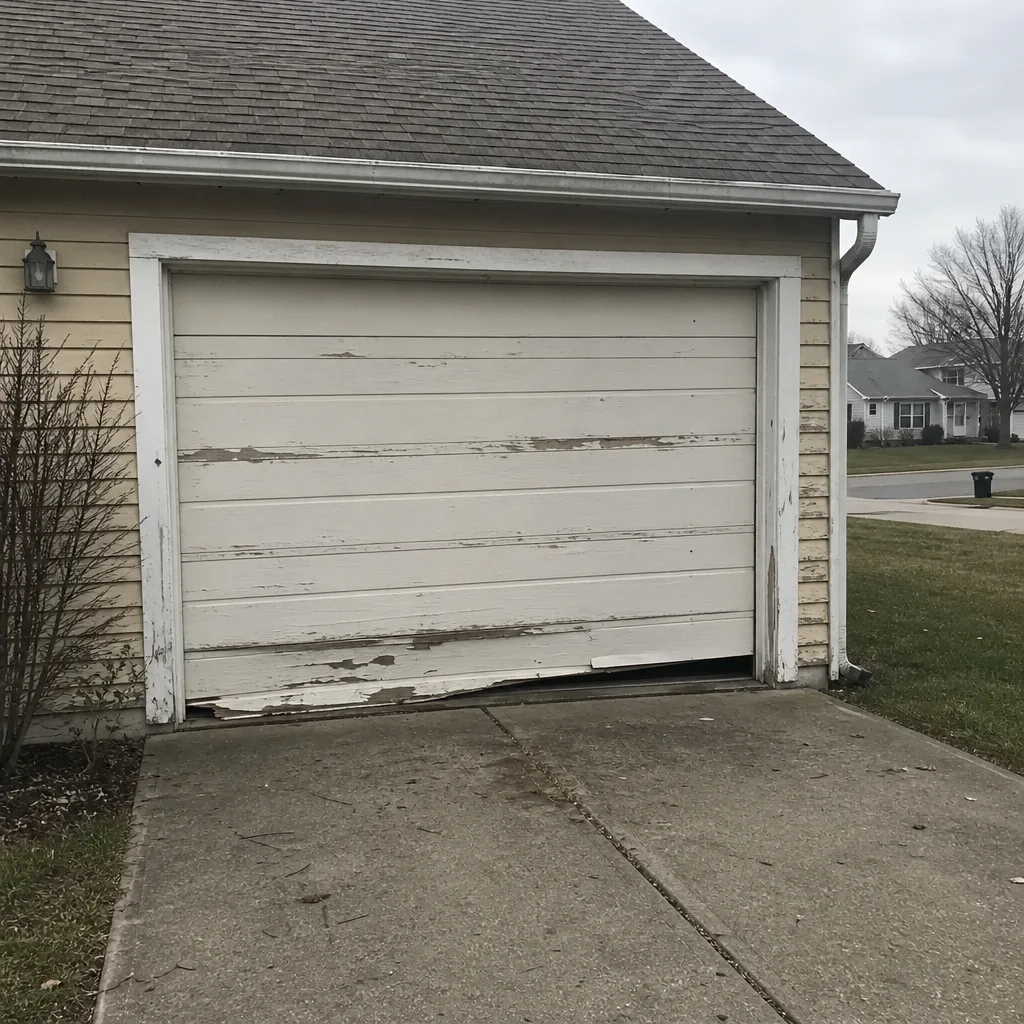 Before
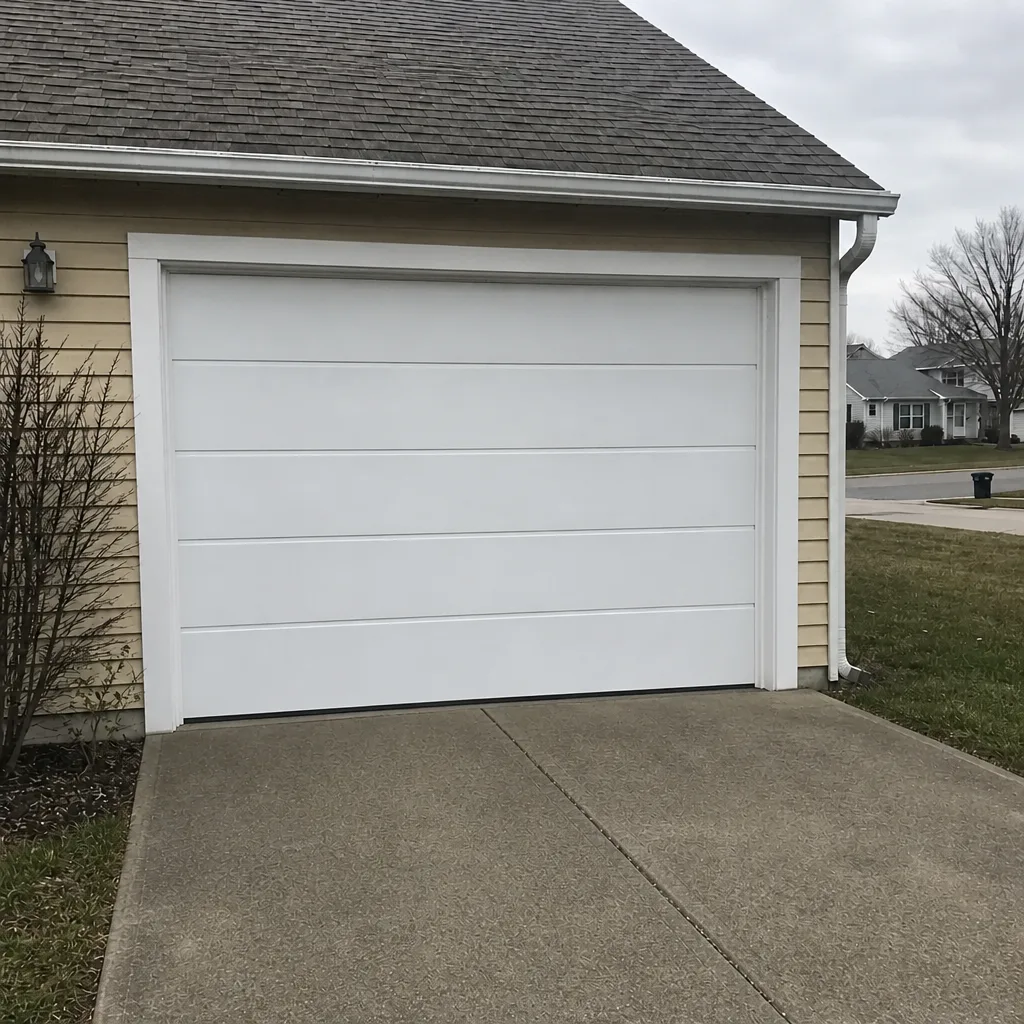 After
When to Call a Professional
Some jobs belong to a homeowner and some belong to a technician. Call a professional if the door loses tension, a spring breaks, a cable frays or snaps, the door comes off its track, the opener won’t reverse after a force test, or the door sags at the top. Those situations involve stored tension, load, or electrical components, and all three carry real risk to someone without the right tools or training.
For routine maintenance on a door that’s still operating normally, the checklist above is your best friend. For anything in the “when to call” list, it’s the right moment to bring a trained eye in. Carmel Garage Door Service offers free estimates in Carmel – call (855) 535-1056. We answer 24/7. Fast dispatch from 7am to 7pm, Sunday through Friday.
Frequently Asked Questions
Do a five-minute visual check monthly, lubricate and tighten hardware quarterly, and have the spring cycle and overall system assessed annually. Indiana winters with road salt on the hardware are the reason quarterly matters more here than in a mild climate. If your home is on a salted road, treat the lower hardware with extra attention through December, January, and February.
Estimate cycle life by multiplying your daily open-and-close count by 365, then divide 10,000 by that number. If the result is under two years from today, plan for replacement. A spring rated for 10,000 cycles run at six cycles a day lasts about four and a half years. Springs rarely announce themselves before they break, so doing the math is the better early warning.
Yes, and you should. Hinges, rollers, and the spring take a garage-door-specific lubricant quarterly. What you shouldn’t lubricate is the track, and you shouldn’t use WD-40 on metal parts, because it thins the correct lubricant. Avoid lubricating nylon rollers entirely. What you should never do yourself is adjust, tension, or remove springs or cables. Those are under extreme load and are a job for a trained technician.
Road salt and freeze-thaw cycles accelerate corrosion on hinges, rollers, and bottom brackets, and the door starts skipping, grinding, or binding in the track. Springs run out on their own schedule and won’t wait for a convenient time. The result is usually a mid-winter breakdown when the door is needed most. A quarterly wipe-down and lubrication routine prevents most of it.
Yes, and every two to three months. Place a small object under the closing door and confirm the door reverses on contact. If it keeps pressing down, the force setting is too high and needs adjustment. That’s the single test that catches the failure mode most likely to hurt someone, and it takes about 30 seconds.
Some things are homeowner-friendly, like replacing remote batteries or resetting travel limits on a model you know well. Anything that involves opening the motor housing, replacing the logic board, or working with the wiring is a technician job. Electrical components and the door’s balance are not DIY territory. When the opener needs real repair, that’s when to call.
The Bottom Line
Garage door maintenance in Carmel comes down to four things: understand your spring’s cycle life, treat the salt-corrosion points on your hardware quarterly, test your opener’s force setting regularly, and use the right lubricant on each component. The monthly and quarterly tasks keep the door running smoothly. The annual review catches what’s wearing out before it fails. When something in the “call a professional” list shows up, call. The rest you can handle with a few minutes and the right spray can.
If you’d like your door or opener assessed for Carmel Garage Door Service, we’ll give you a clear read on wear and a free estimate. Call (855) 535-1056. We answer 24/7. Fast dispatch from 7am to 7pm, Sunday through Friday. And if you’re near the Carmel area and your door needs a full check, that’s exactly what we do – no referrals, no second company. Whether it’s the door, the springs, or the opener itself, our technicians arrive knowing the system. Written by the team at Carmel Garage Door Service.